Tuesday, June 30, 2015

GARDEN STATE QUILTERS SHOW

It has been a hectic month, and I don't see this changing for the next few months as I am working hard to get ready for my Lincoln Center event in Oct.  In the meantime, let me catch up with some of the happenings in the quilt/felting world of Josie.  

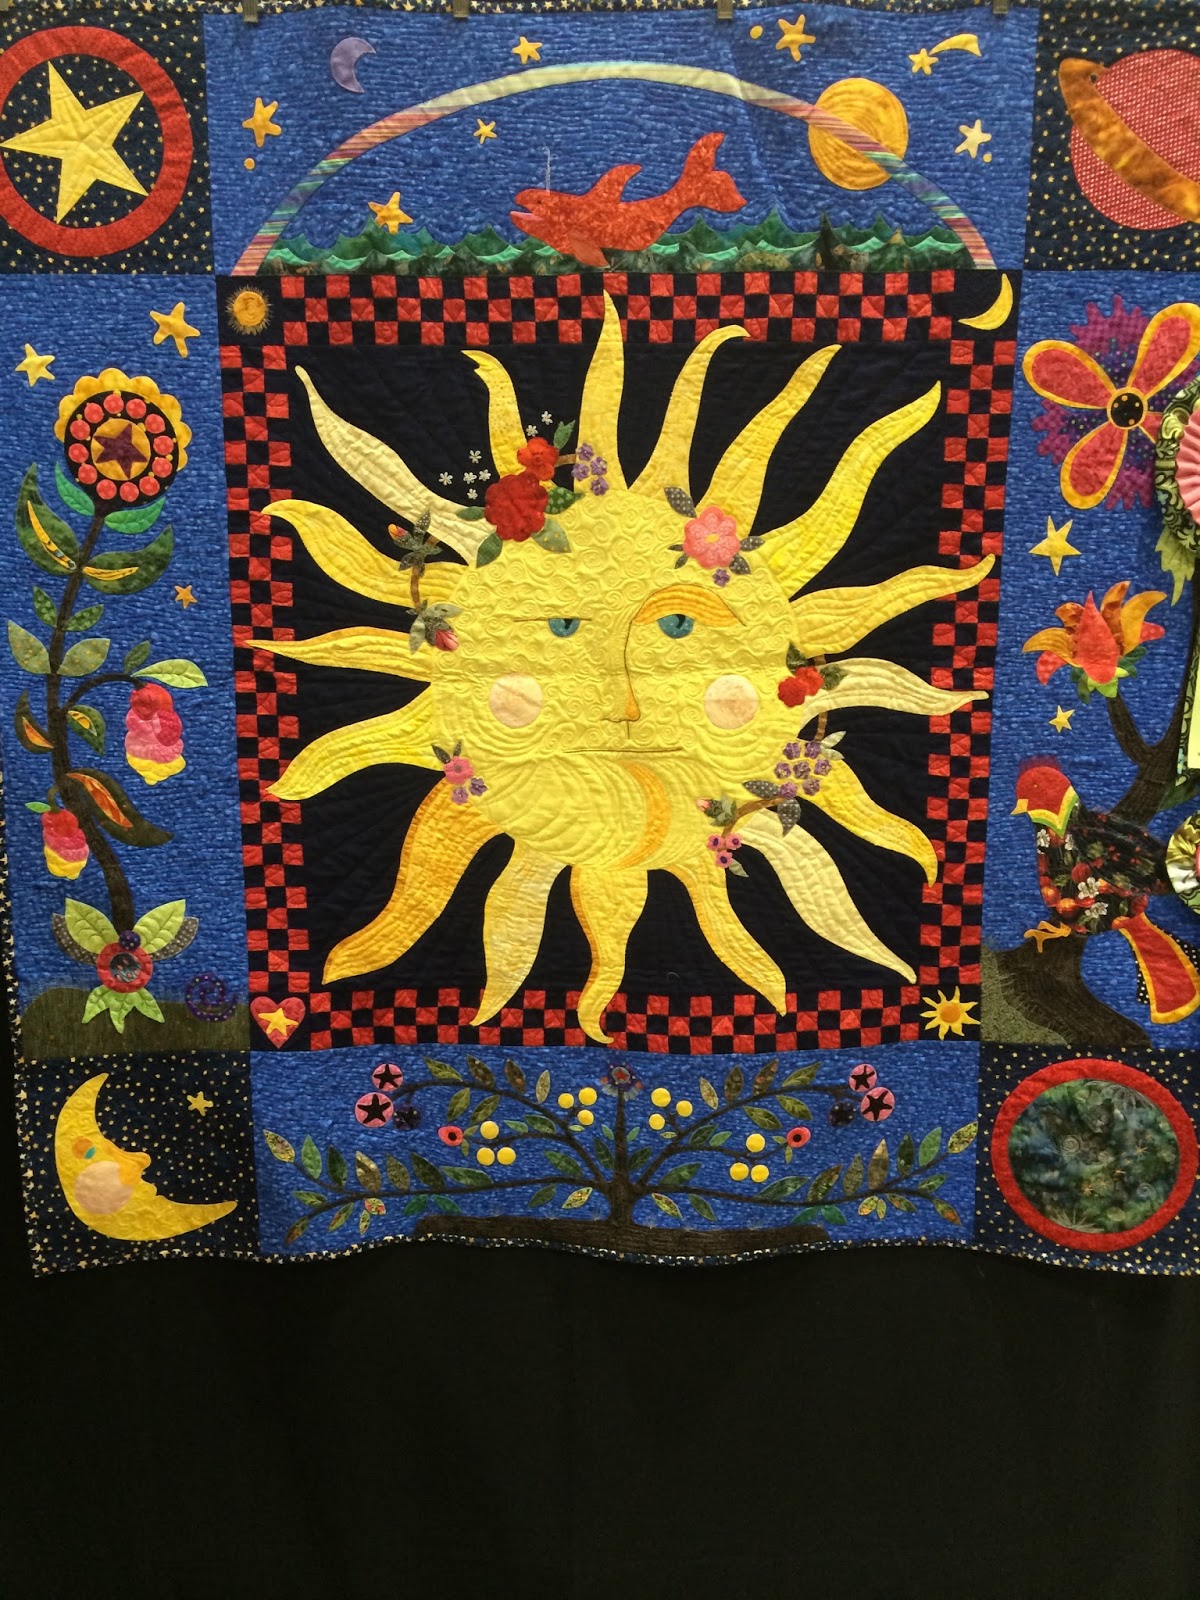
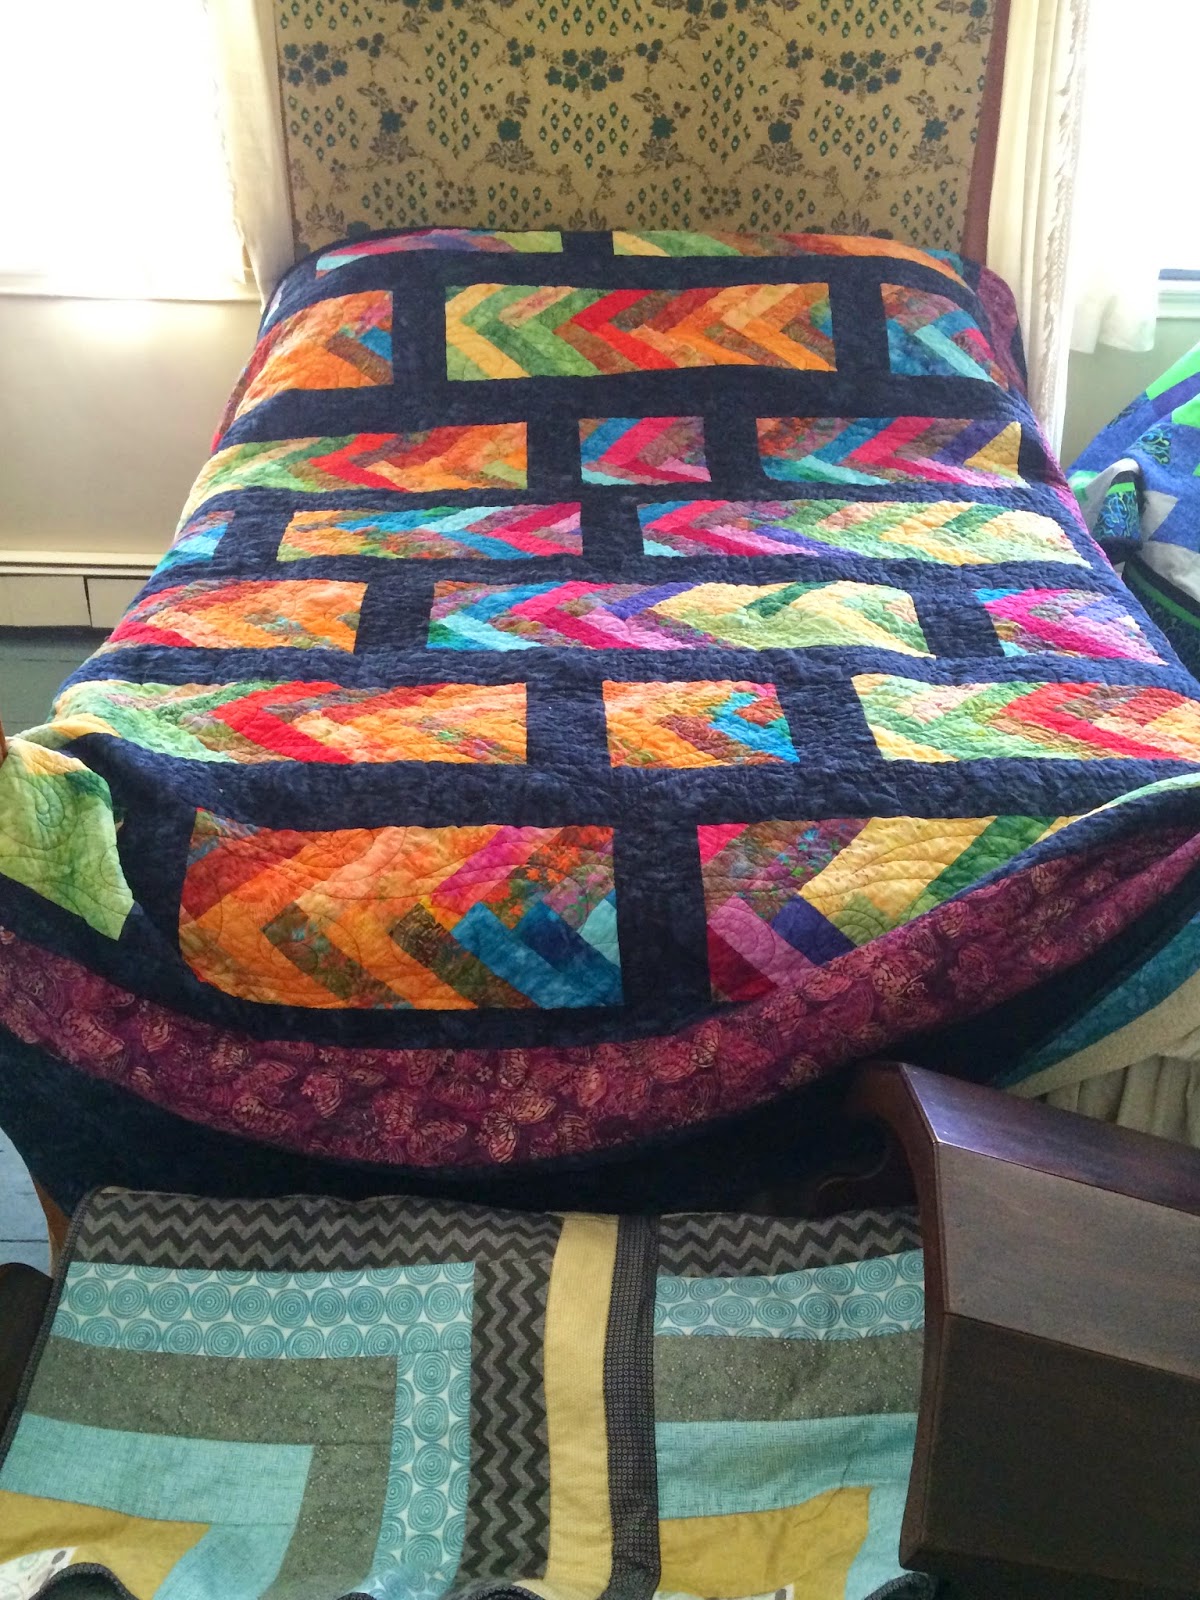
At the end of May  I had the pleasure of going to the Garden State Quilters Show at the Mennen Arena in Morristown, NJ.   GSQ (garden state quilters) is a local guild, and some of the members are quilting friends of mine who were well represented in this show. Two of my friends, Karen Jack and Betsy Vinegrad had over 10 quilts in the show this year.  Wow, they have been busy.   There was also a section in the Show which showcased quilts from the NJMQG( NJMQG) which I belong to, as well as the Maplewood NJ Teacups quilting group (also a member).  

Please take a trip with me to review some of the quilts from the show.   I was not able to capture everything I wanted as my iphone gave out on me, but I did get a good representation of what was at the show.


Lindy Wilson's quilt (our Tuesday night Teacup group challenge)

Spare Change by BetsyVinegrad has already received ribbons from other shows.


see the 3D design detail in Lindy's quilt

Annette Garrett from Tuesday nights  Teacup group challenge!

This and the next 5 quilts  below are from quilter members of  Northern Jersey Modern Quilt Guild

Melanie Tuazon -NJMQG


Thursday, May 28, 2015

FELT CREATIONS UPDATE

Hello everyone,
I'm sorry for being away so long, but I've been busy working with the kids on the after school enrichment program I told you about in early April, as well as other felting and quilting projects.  Today is the last day of the 8 week program.  The kids and I have been having lots of fun making small felted items including key chains, bracelets, necklaces, bookmarks and a new project each week.  Please see summary in the collages I put together below. 
1)Felted bracelets using pipe cleaner inside +wool roving in various colors.  Some kids made them for their mother!
2)Felted beads/other shapes used for neck pieces, bracelets or earrings.  The kids did the felt work, then I put together with the silver or ribbon findings.

3) Felted bookmarks and felted soaps!

4) Felted landscape -most interesting class.  One kid looked out the window and created what she saw (airplane/tree landscape).  


Friday, April 10, 2015

FELT CREATIONS - OH WHAT FUN!

Yesterday was another fun day creating felt art with kids, as part of an after school program at a local school.   My class is called fiber creations and the plan is to make simple and quick projects where the kids can get instant gratification.  So far, so good!

Kids are asking "what is felting or wet felting", so I thought it would be a good idea to share my adventure with you each week based on the projects we work on in the class.
 
Wet felting is the process of taking hot or warm soapy water plus friction and applying it to wool roving(http://knitting.about.com/od/knittingglossary/g/Roving.htm) in order to create felt (http://dictionary.reference.com/browse/felt).    Take a look for yourself.

Week 1: Felted Eggs
Learned how to wrap the wool roving around a plastic or styrofoam shape to create a colorful egg.
Adding warm water, then rolling the fiber covered egg in our hands until the fiber starts to bond together forming hard covering around the egg.  All the kids took felted eggs home to show their parents.

Week 2: Felt balls for jewelry or other
 1-Each student provided their favorite color(s).   I then put together small baggies filled with the favorite color along with additional accents.   It was exciting to see the happy faces as they received their goodie bag.   Of course, some of the kids added more accents or borrowed colors from their team mates stash, as they put together their felt balls.  So adventurous!


Preparation of felt ball using wool fiber (roving):
Pull off layers of thin roving then wrap it around the tip of one finger, then pull it off and start wrapping the fiber into a ball.  There are other ways you can do this, but for our class we proceeded this way. As you wrap, you will continue to use thin layers, and wrap the roving in a 90 degree angle to each other.  When you have a ball that's twice the diameter of your finished ball the wet felting process can begin.


 -After rolling the main color a few minutes you can add in more accents

A bowl of warm water is set aside, and few sprinkles of a mild dishwashing liquid is added to make it a little soapy.  I like to use Dawn, as it's gentle on my hands.   When I'm making felt balls at home I make the water hot as possible, to start, in order to speed along the felting process.

The felt ball is dunked in the water a little (or sprinkle water over ball in your hand) to get it wet then you squeeze and shape gently at first in your hands.  After a few minutes the ball will start taking firm shape, and shrink.  As it hardens you can roll it with a firmer hand.  Sometimes I roll in my hand at first, then as it hardens I roll it on a sushi mat or bubble wrap.    As the ball shrinks and gets more firm you can increase the pressure.  At home, I generally roll 4-5 felt balls in my hand at one time, after it starts to set.


-After dipping the dried felt ball in water


 -Rolling the felt ball gently from one hand to the other (no pressure until the ball starts getting firm in your hand).
Photos of the Kids felt balls at different stages above and below!


The felt ball is getting firm and starting to shrink


Below are more photos of the kids finished felt balls.  Some will finish as earrings, and others as neck pieces.  More to come after spring break.


More photos from my felted balls in different stages of felting


Finished wool felt balls below.  The one in the middle started out round, as it became firm I started squeezing it to make it flat instead of round.  I also added a spike to the center one for extra dimension.


Monday, March 2, 2015

NUBIAN HERITAGE QUILTERS -IN THE SPIRIT OF FREEDOM EXHIBIT

I had the pleasure of going to the Nubian Heritage Quilters Guild annual show this past weekend at the historic Crane House in Montclair, NJ.   This year marked the 20th anniversary of the guild.  You can learn more about this guild at http://www.nubianquilters.org/.    
Here is another link about the exhibit from a local paper
http://www.northjersey.com/towns/fabric-and-freedom-in-quilts-on-display-1.1274627

According to the website the guild was initially established to celebrate the legacy of African American quilting.  Traditional quilt ideas are used while incorporating ethnic patterns and fabrics.
This was witnessed in many of the quilts I saw during the exhibit.  Great use of color and pattern.   Many quilts representing historic events from our past or inspired by it.

Quilts were displayed on 3 floors including wall/bed quilts, art quilts, dolls and lots of other goodies.   There were also different how-to demos going on downstairs.

Some of my favorites were the quilts honoring President Obama; display of quilted houses in one room titled "Down Home Village"; numerous portrait quilts; the Masterpiece collection and many more.  When you see 160 quilts it might be hard to remember each and every one, but what does stays in my memory is the beauty, colors, and execution of all.  There was so much talent shown throughout the house.   When I got home I was actually thinking of going back again on Sunday, but the snow kept me in.

Unfortunately, I was not able to get many photos due to a malfunction of my camera, but I will share the few I did get.  I do hope the guild will share photos on their website in the future, as I'm sure you will enjoy the experience as I did.


Masterpiece -Jacqueline with Flowers by my friend Joan Piggot

This quilt and the one above were part of a special exhibit called Masterpiece, where the artist did an interpretation from a master painter's work (i.e. Matisse), and displayed over canvas.                                                                                          

Please note portraits in the middle including Michelle Obama and Marvin Gaye. 


Thanks to Brenda Castell, quilter, for demonstrating how to transfer photo to fabric.
Color Me Happy, by another fellow quilting buddy Jeanine Bowen.  
Bright colors always capture my eye -Stack and Whack technique

My friend Annette's quilt -Perennial Pinwheels/ I saw this come to life during our weekly meeting.

Another quilt by Annette where she used only one fabric to create this amazing  quilt.


I love the use of purple/greens and blue in this quilt.


Colorful baby quilt

Japanese Kyoto by Marietta Schoenherr

Log Cabin- "Courthouse Steps"  is a traditional quilt pattern

CREATE ART OR TROUBLE SHOOT WEBSITE

Follow my blog with Bloglovin I've spent the last 2 days tinkering around with my blog and my website trying to figure some things out...